iNiLabs - QuickPOS - Inventory Management & Point Of Sale System (POS)
- Getting Started
- Project Info
- What is this project for?
- Features
- Installation
- Quick Start Guide
- SMTP
- Changelog
- How to contact us?
Getting Started
- Created: 1/08/2021
- Last update: 08/12/2022
- Version: 1.2
- Author: iNiLabs ( inilabs.net )
- Support: Online Help line Desk ( https://inilabsn.freshdesk.com )
- Find us on Facebook
- See our tutorial videos on Youtube
What is this?
iNiLabs - " QuickStore: Multi Branch/Store Inventory & Pos With QrCode & WhatsApp " is World’s simplest and most efficient web-based multi-channel inventory and point of sale management platform where users can manage order and warehouse together for multiple branch or channel or store. Designed specifically for shopping malls grocery stores with multiple branches with customer membership. Fashion & lifestyle brands, Assure provides a single view of inventory across all marketplaces and a seamless order inventory sync in less than 30 sec. In the system SMS gateway available & Wati WhatsApp sms, Customers can be registered themselves and credit balance in their account and shop owner can keep records of their inventory and many more..
Features
This Multi Branch/Store Pos System helps in keeping records and details about the customers/shops in a systematic manner and maintains a repository of the same.It allows to add credit in customer account
- Ease of Use.
- Smart POS-Point of sale service that maintains all the record of sales and purchase
- Share Customer Information to all store/channel/branch
- Credit can be added to customers account
- WhatsApp notification using Wati api
- Stripe ar Razorpay payment Gateway Integrated
- Customer QrCode autogenerate and whatsapp notification
- Product Qr Code generate and bulk print option
- Attractive Dashboard for admin and shop keepers and other users
- Add User with different types information specially roles
- Shop Owners Dynamic Information
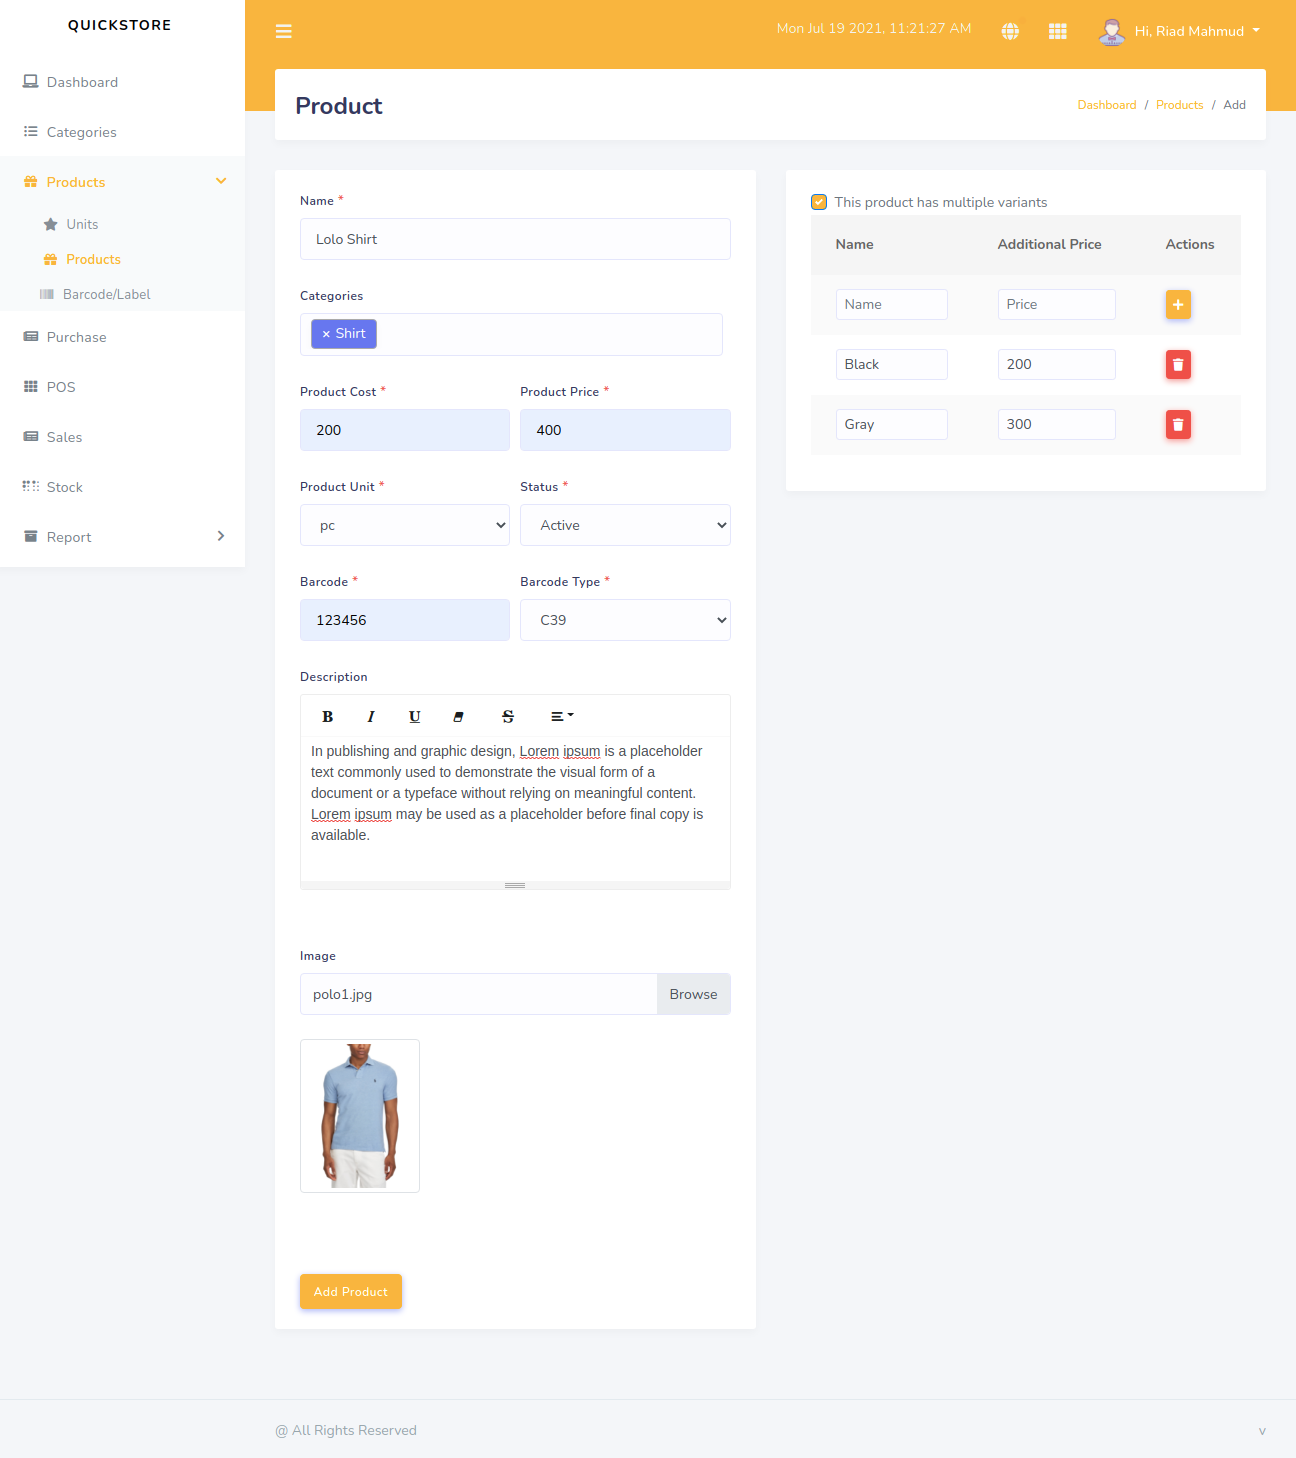
- Variations of Products can be added
- Smart stock monitoring system
- Settings : General, Notification, Photo & Site details and others,
- Email & Sms Settings
- Notifications that Match Receivers' Preferences.
- Shop with credit balance,
- Product bar code generator,
- Adding shops with their products and other details,
- Add product categories and unit,
- Records of purchased product,
- Records of sold product,
Report for sales,purchase and stock
- Secured Data,
- Alerts Email/SMS integration is available
Dashboard
Beautiful dashboard for each user with advance features and graphs.
Send notifications
Send customer a friendly notification through whatsapp after check in and recharging credit amount.
Multiple Shop
Create multiple shops with appropriate details of both shop and shop owner
Variations of product
Add products of different variations with different price tag.
Customer recognition
Make your customer feel truly welcome. Your customer name will be displayed on the screen as they check in and the app can remember details, like how they like their drink. They are not new here
Security
Admin has the supreme power to monitor everything.
Data protection
Your data is safe with us. It is backed up daily across multiple servers, so you can have access to it even if there is a hardware issue. It is also yours to keep. You can, at any time, retrieve all your data.
Reports
Users can print sales,purchase and stock report .
Credit
customer can check their balance anytime with their mobile number.
Installation guideline
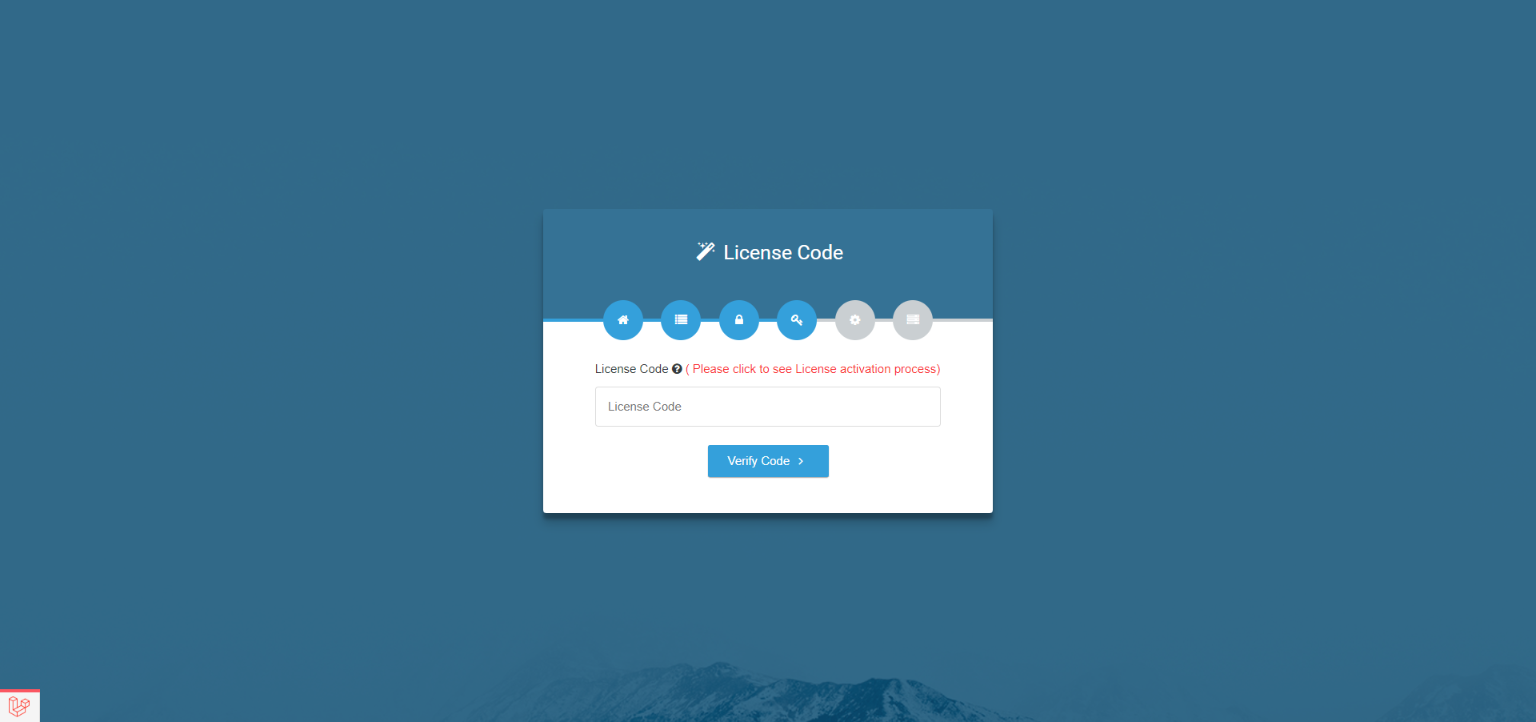
Active Purchase Key:
Before install, please active your envato purchase key from our system and install project by our license key
- Goto inilabs official site inilabs.net
- Now create an account in our site
- Click the below link and verify your email
- Now click Active Purchase Key from home page and fill you information
- Select your product
- Enter your domain, Which domain you would be using this product
- Enter your envato purchase key and click submit
- Now copy your Active License and install the product by this license


Prerequisite:
Before install, please make sure you have the components bellow enable on your server
- PHP 8.0.0 or Greater
- OpenSSL PHP Extension
- PDO PHP Extension
- Mbstring PHP Extension
- Tokenizer PHP Extension
- XML PHP Extension
- Ctype PHP Extension
- JSON PHP Extension
- BCMath PHP Extension
- GD PHP Extension (or Imagick PHP Extension)
- PHP Zip Archive
- PHP JSON
- PHP cURL
- PHP Zip Archive
- Rewrite Module (Apache or Nginx)
- open_basedir must be disabled
php.ini Requirements:
open_basedir must be disabled
Note: Remember! The script doesn't have any "install" folder or directory. The installation is controlled by a Controller.
Now Follow the steps below to setup the script:
- Unzip the downloaded package from here and open the /Source Code folder to find all the script zip. You will need to upload the foodbank-web.zip file to your hosting web server using FTP or localhost in order to use it install it on your website and then you need to unzip this file in your server desired location.
- Below is the folder structure and needs to be uploaded to your website or localhost root directory:
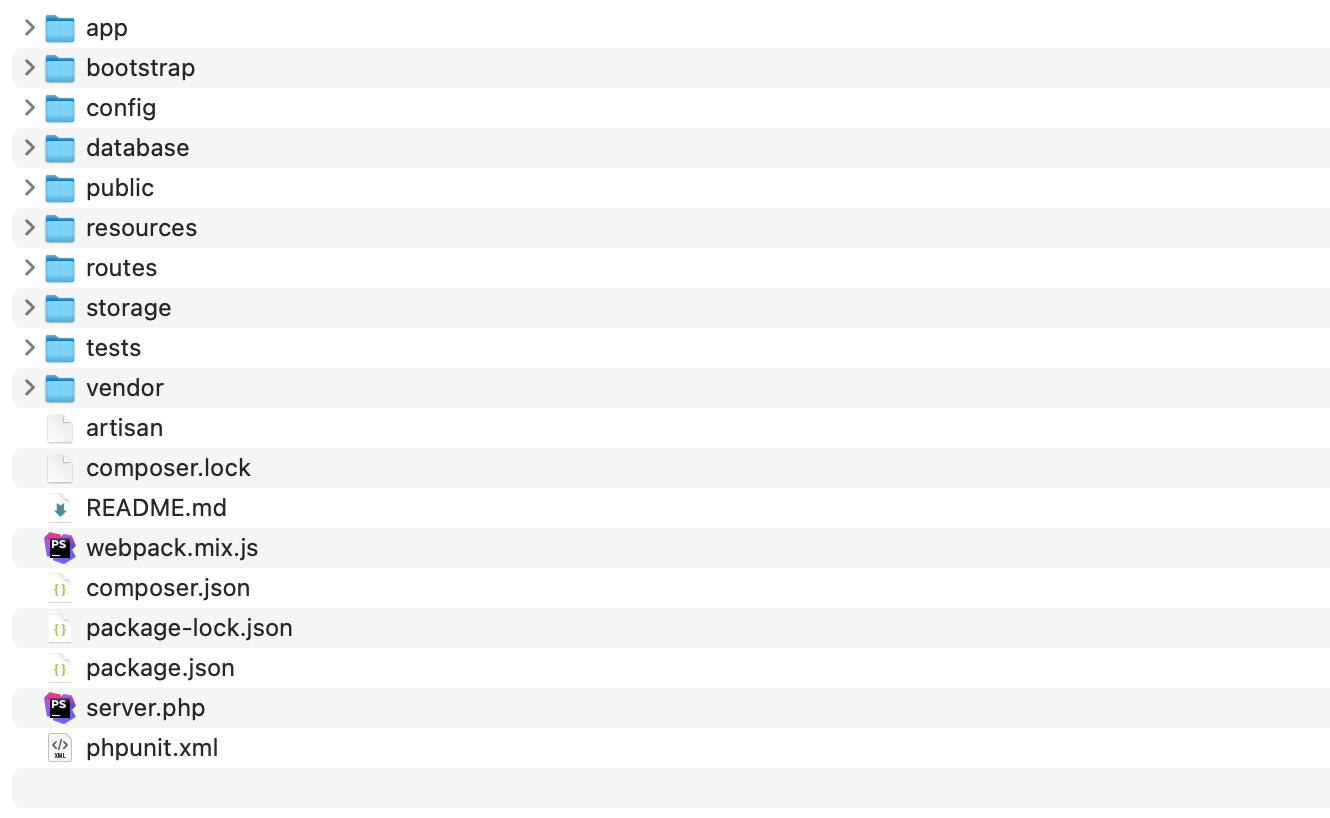
- You should upload all files.
- Now you are good to go for start the installation process from the browser
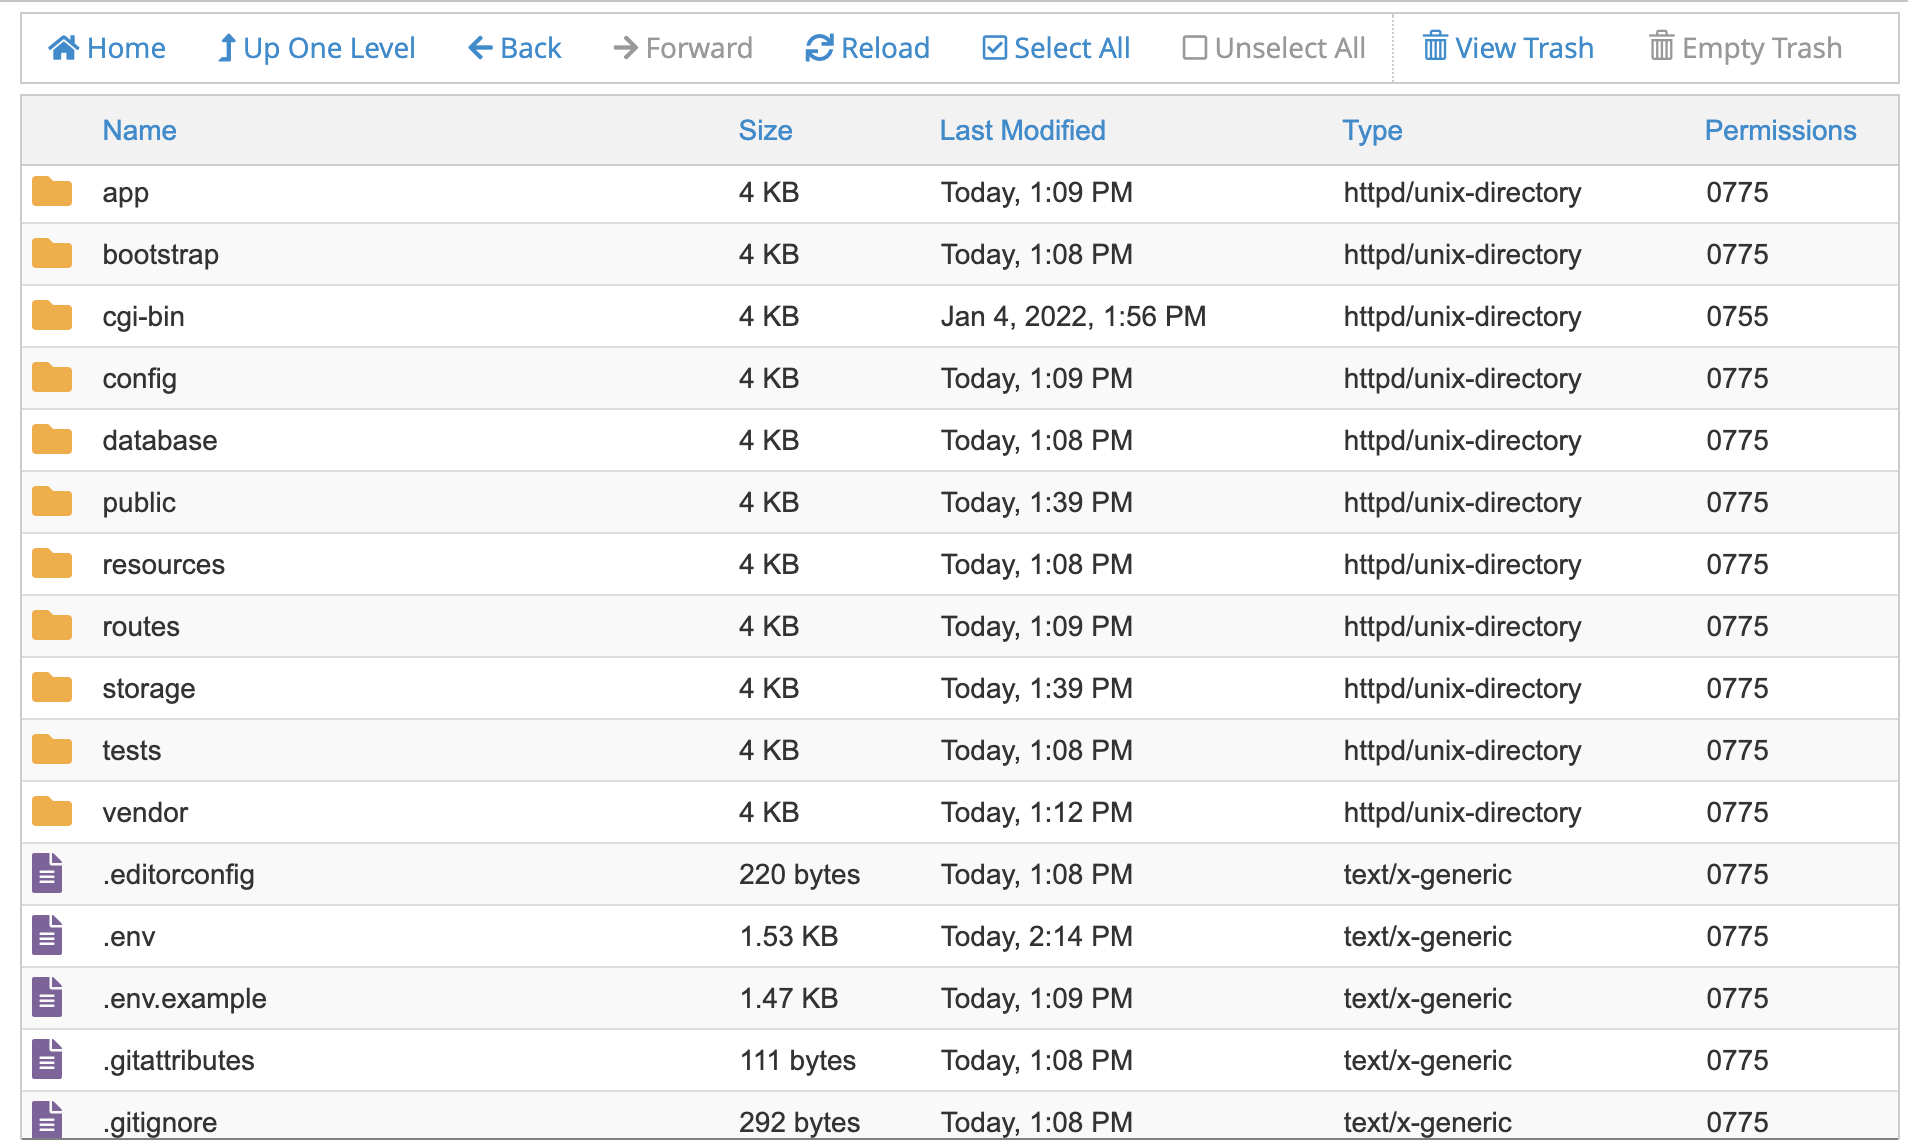
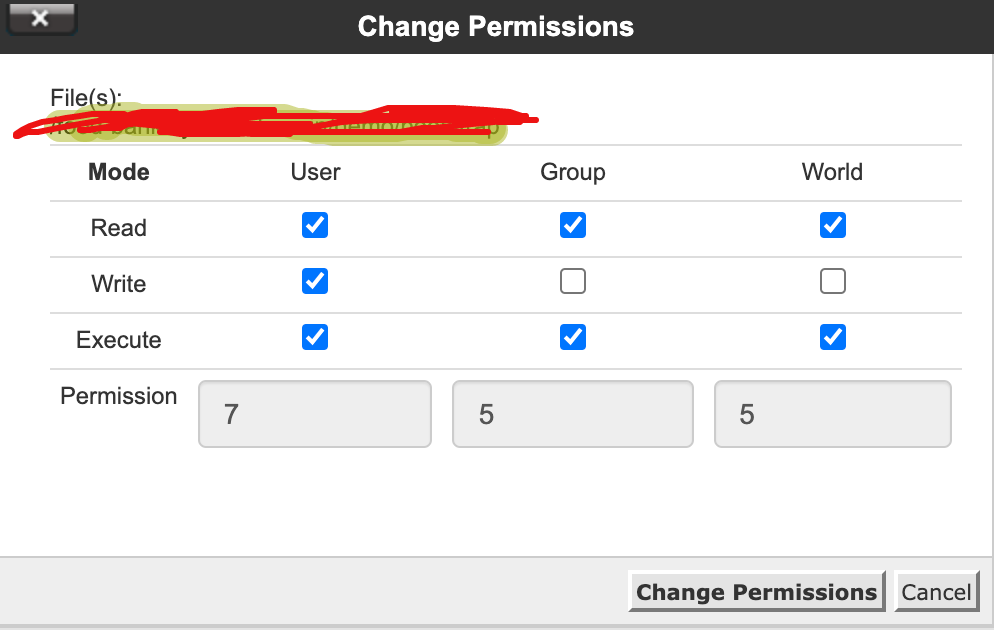
- Make sure in script folder /bootstrap and /storage folder have permission as 755 recursively.
- Manually create a database using “Phpmyadmin”.
- Run the install script path from any web browser (http://yourdomain.com/install) and click on “Check Requirements” button.
- Now you can see your php extension list if it is already installed in all extension then you can see "Check Permissions" button. Now click on this button and go to next step
- Now you will see the folders permission list if everything is ok then click “Configure Environment”
- Now Enter your Licence code which you created from iNiLabs and click on you will see the folders permission list if everything is ok then click “Configure Environment”
- Provide your database and App information like Database Host, Database Name, Database Username, and Database Password, then click “Setup Application”
- Now you will see the login information (Email : admin@example.com , Password : 123456) then click here to exit
- Good Luck!!!


Quick Start Guide
Admin Dashboard

Admin Profile

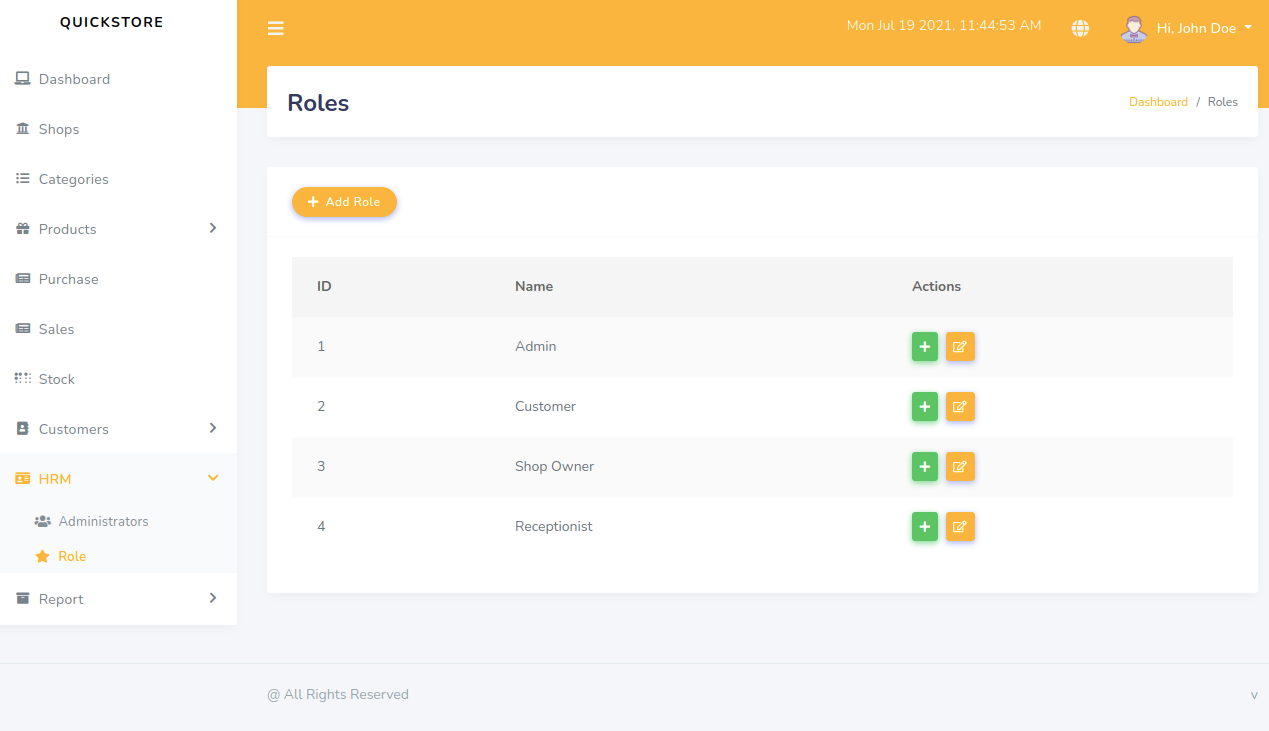
Roles
Admin Shop add

Shop owner Dashboard

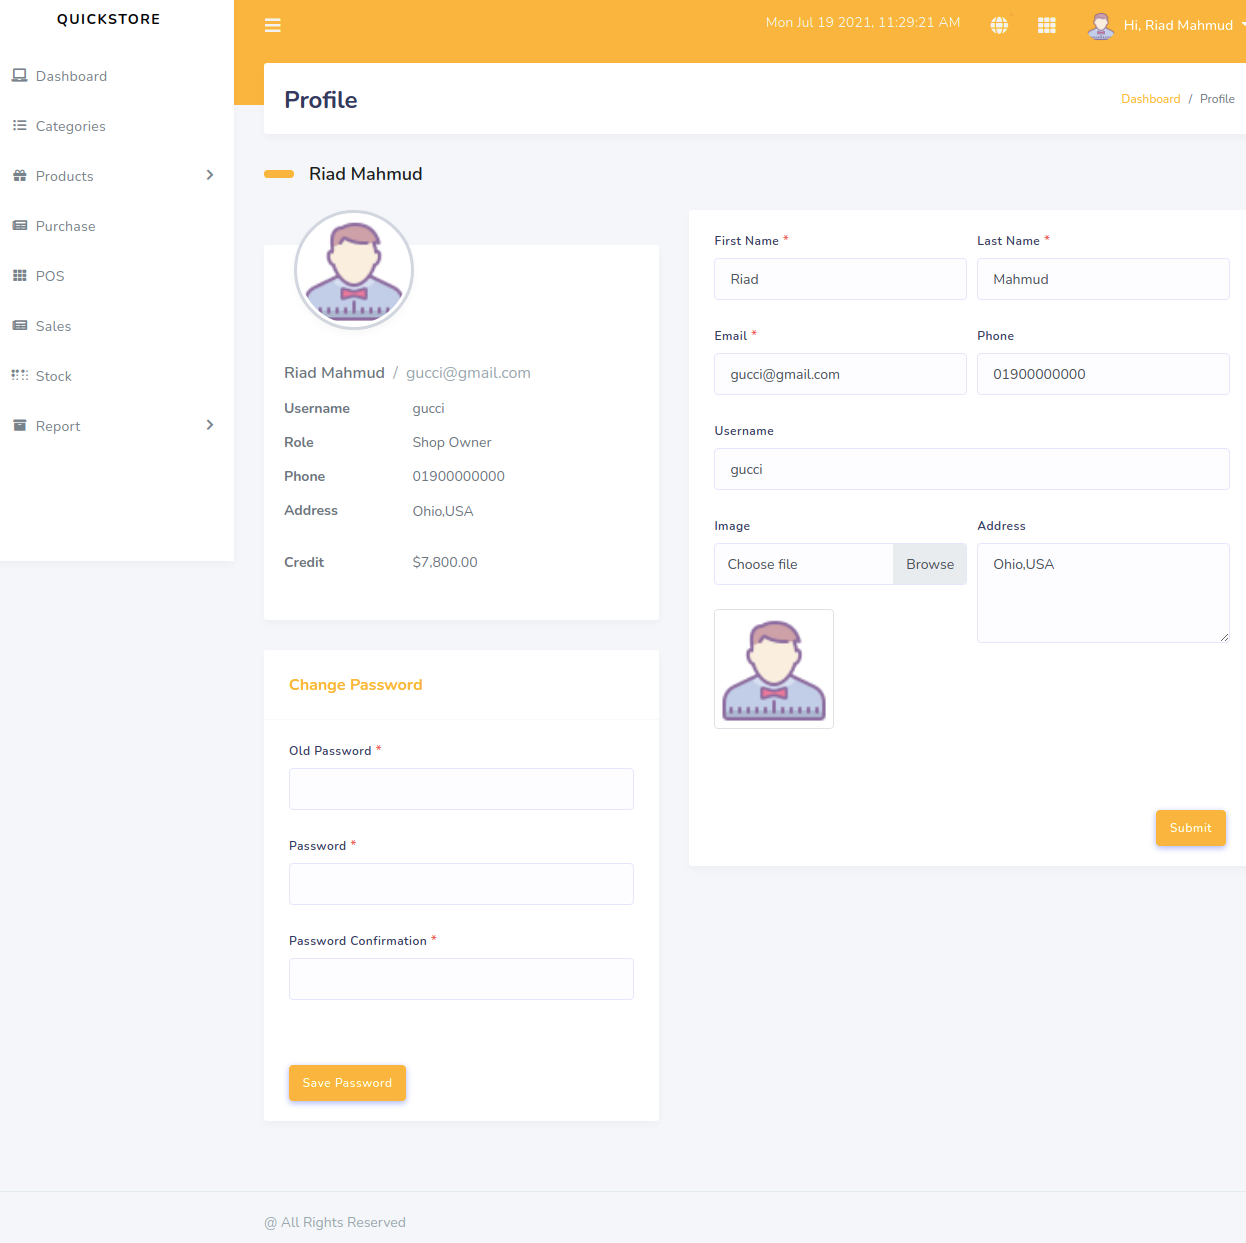
Shop owner Profile
Add products
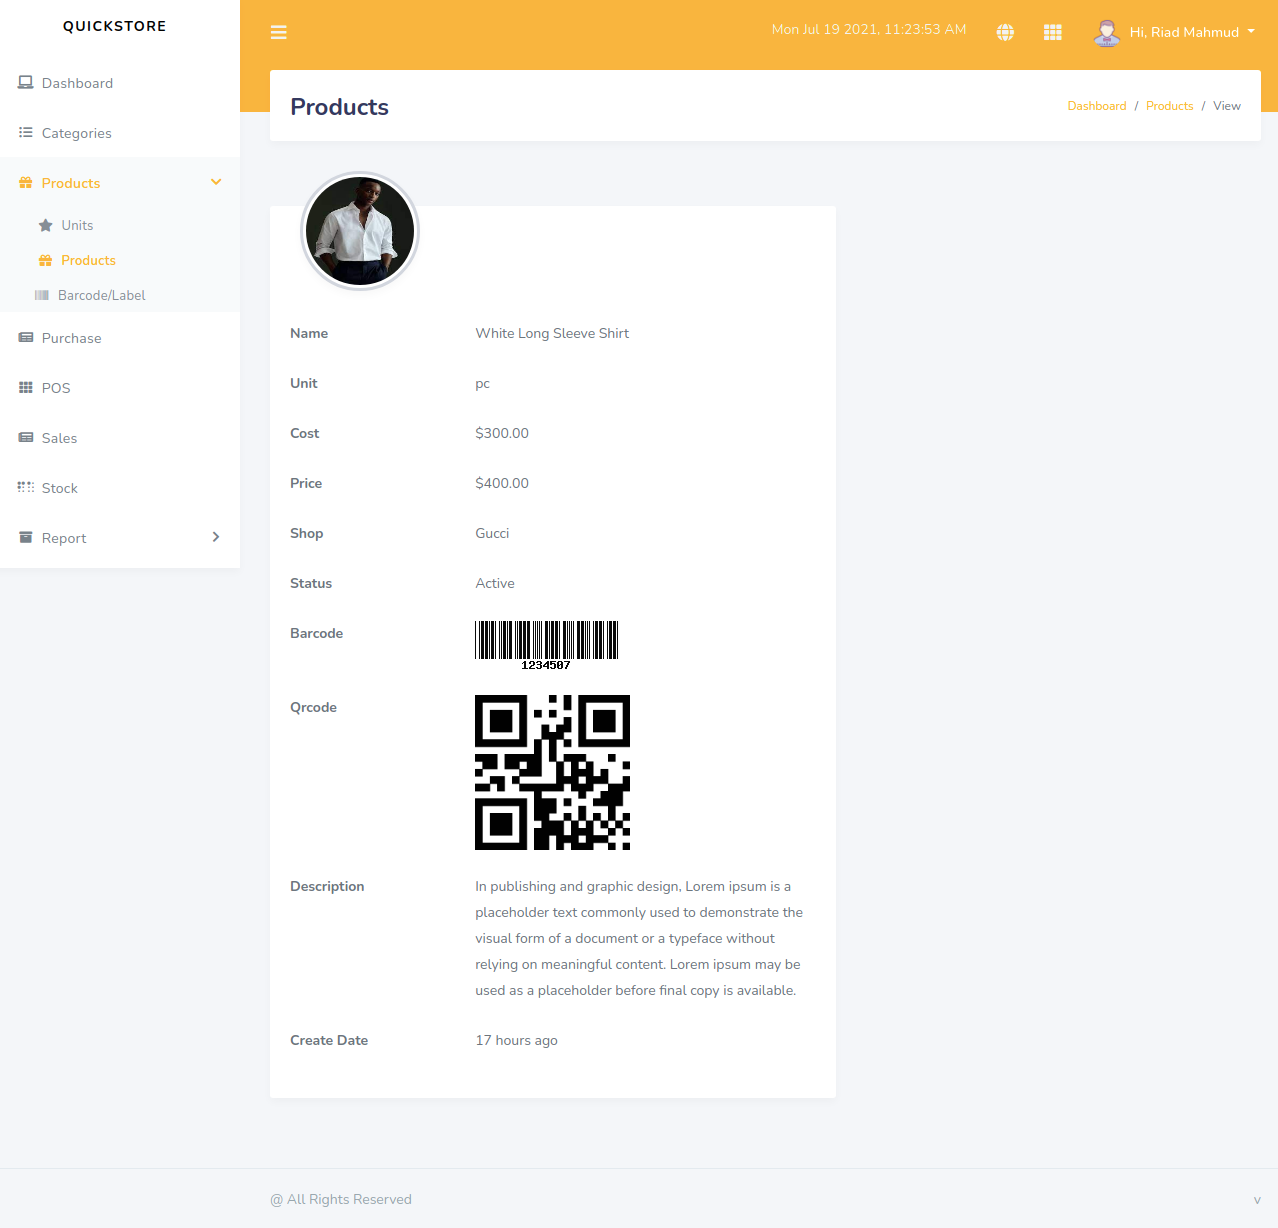
Product view
Product Barcode/Label

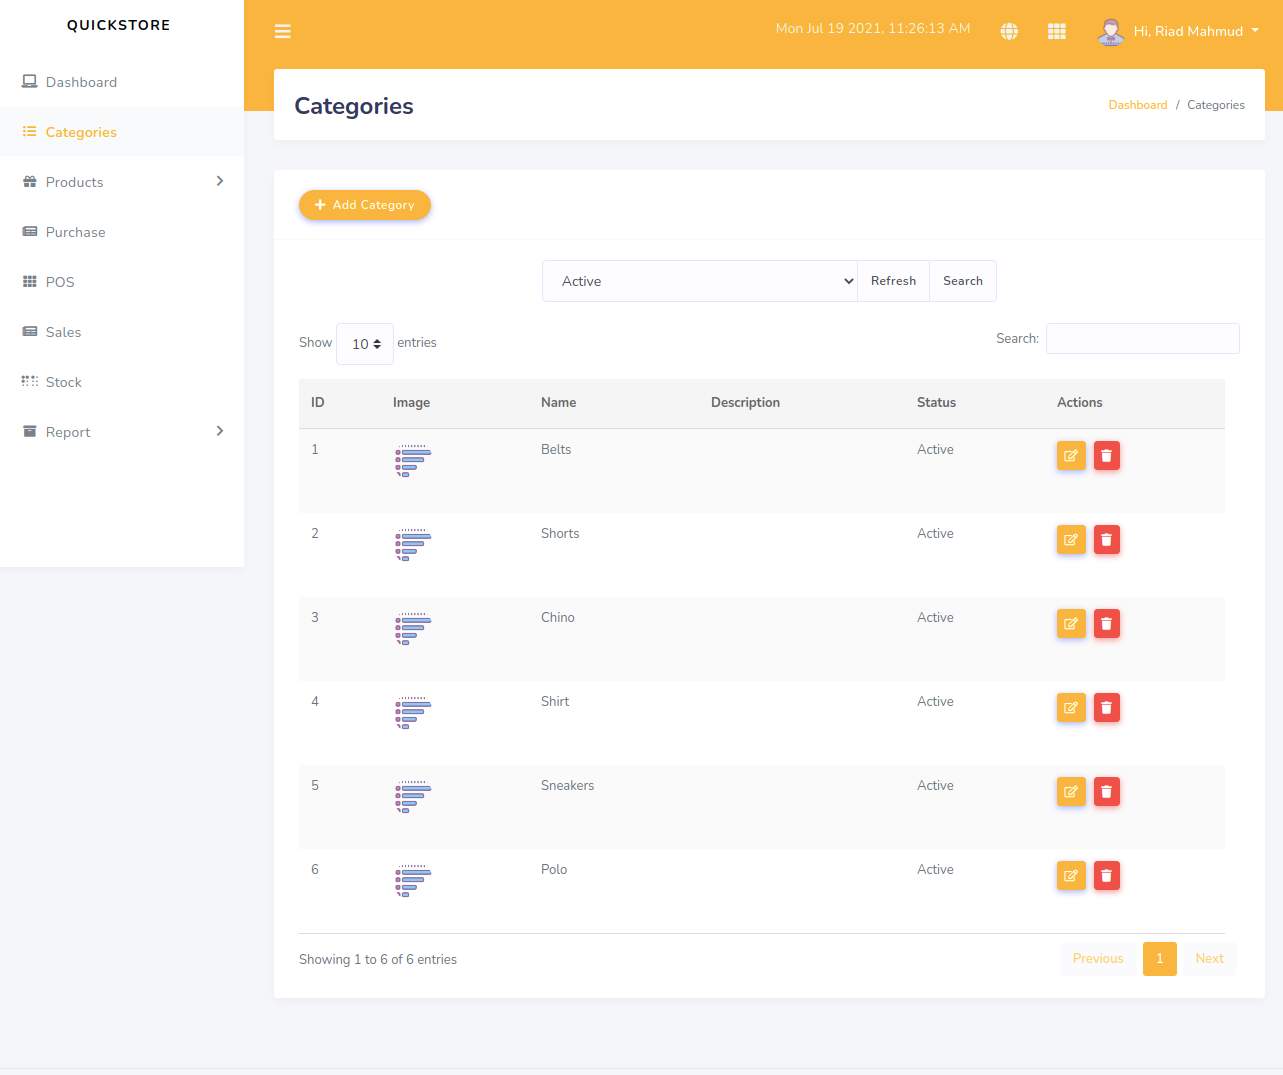
Add Category
Add Unit

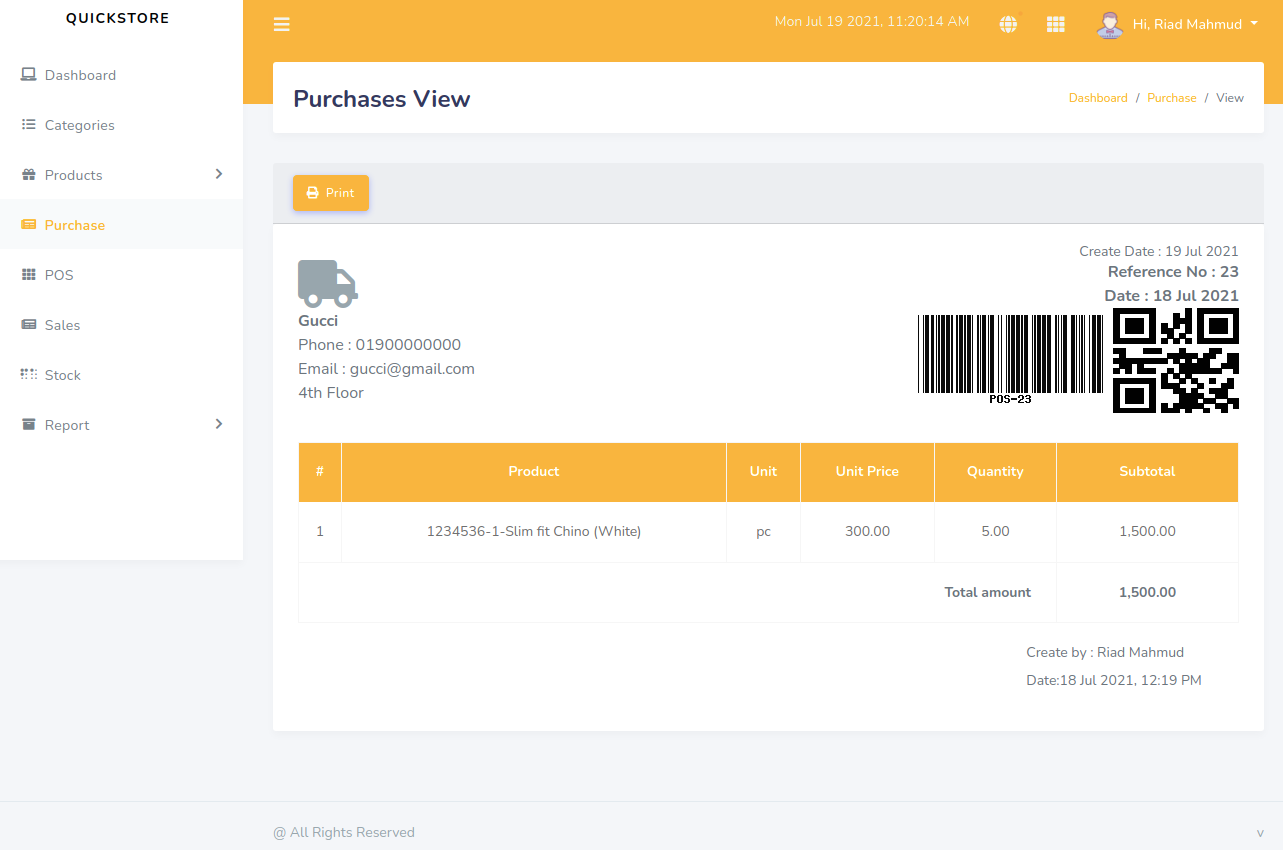
Purchase
Pos

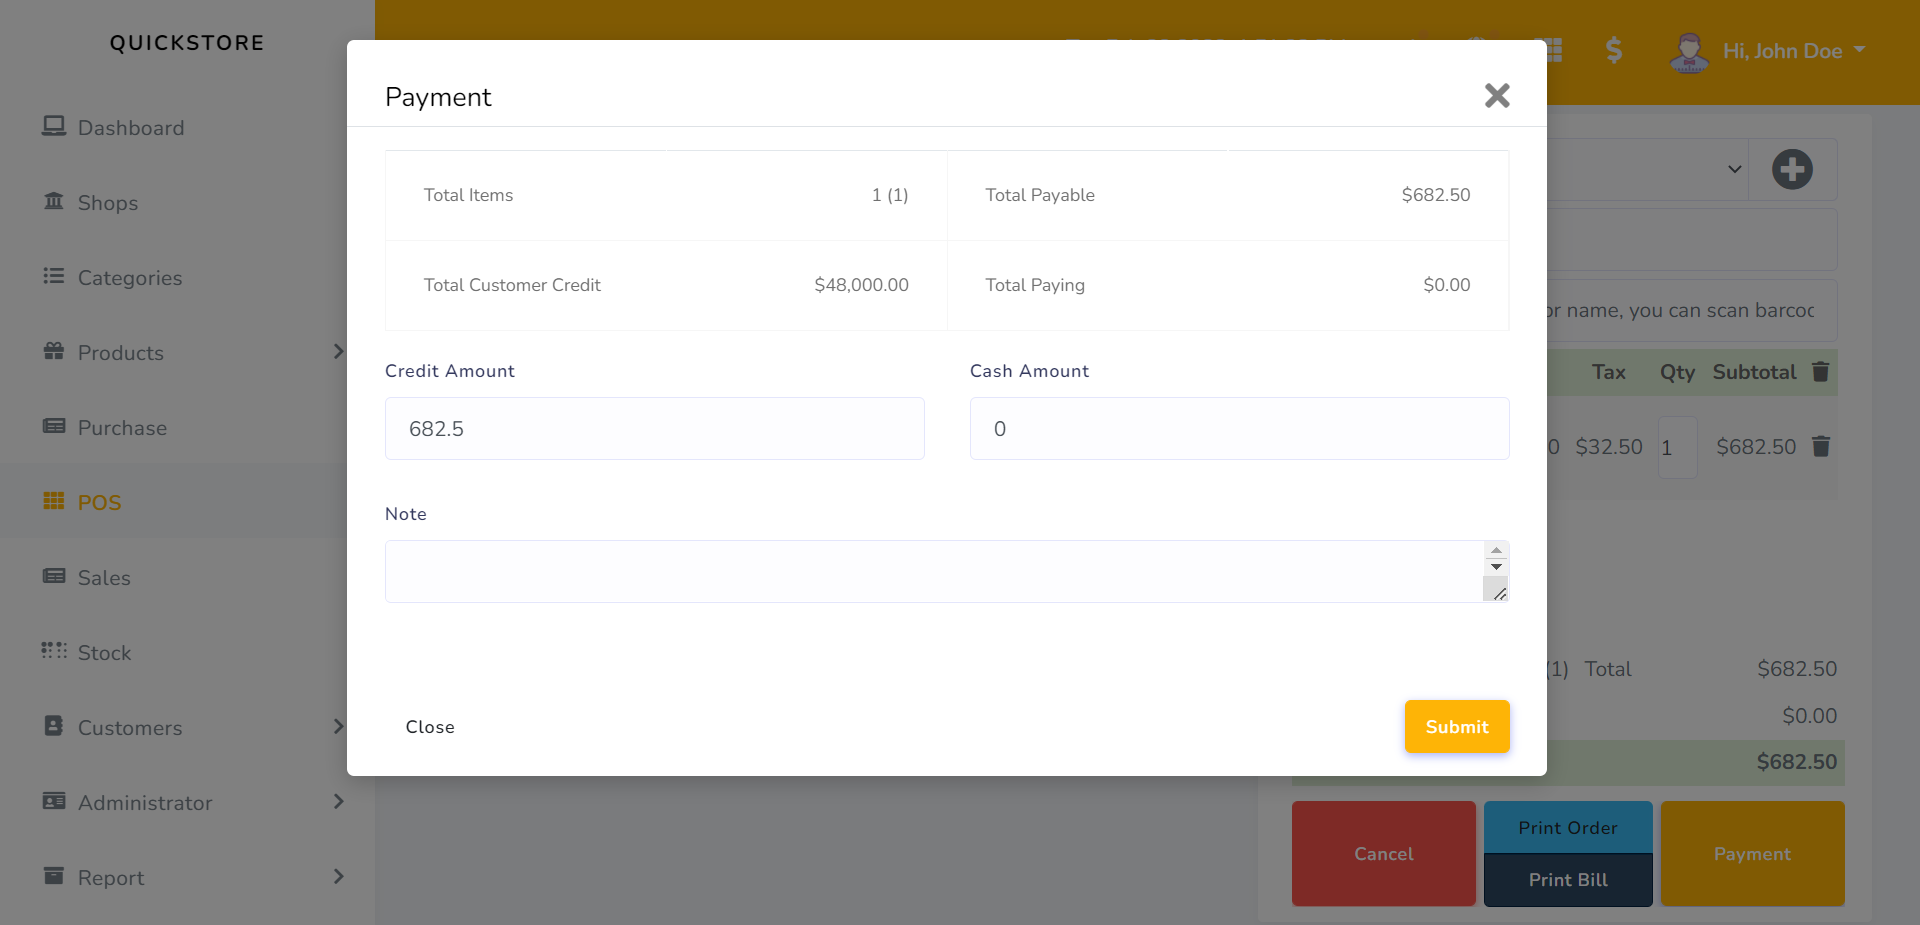
Payment
Print Bill
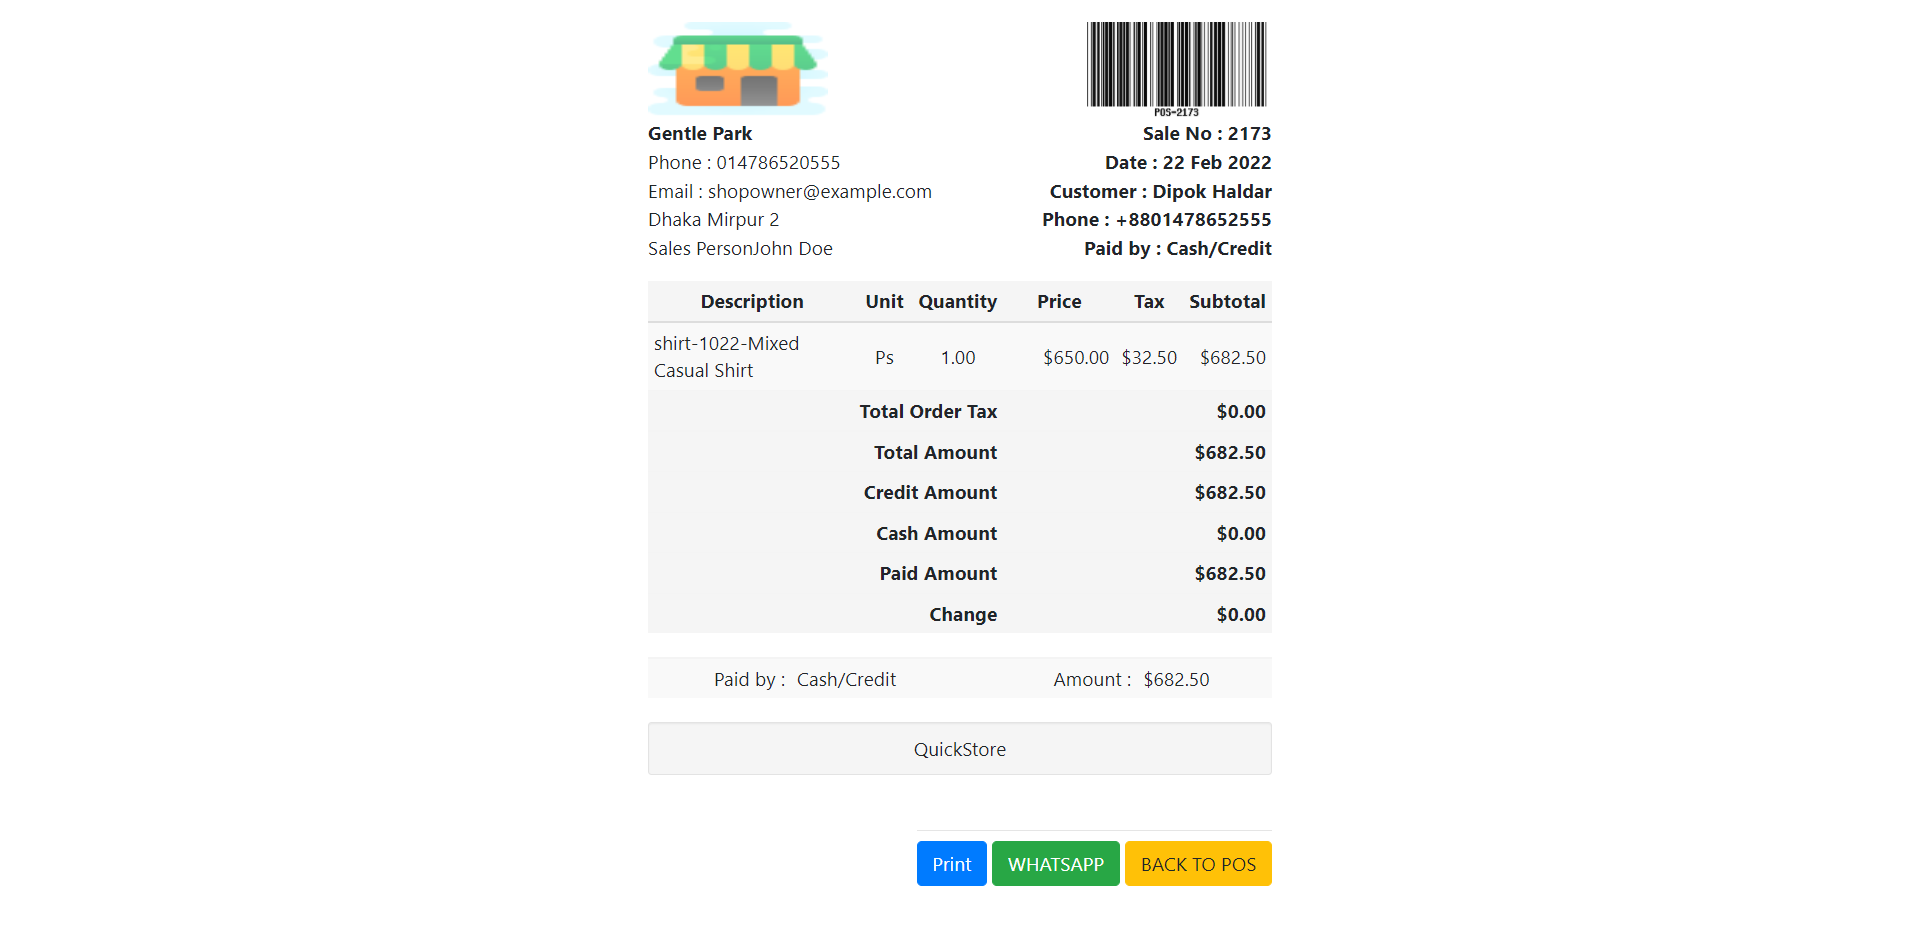
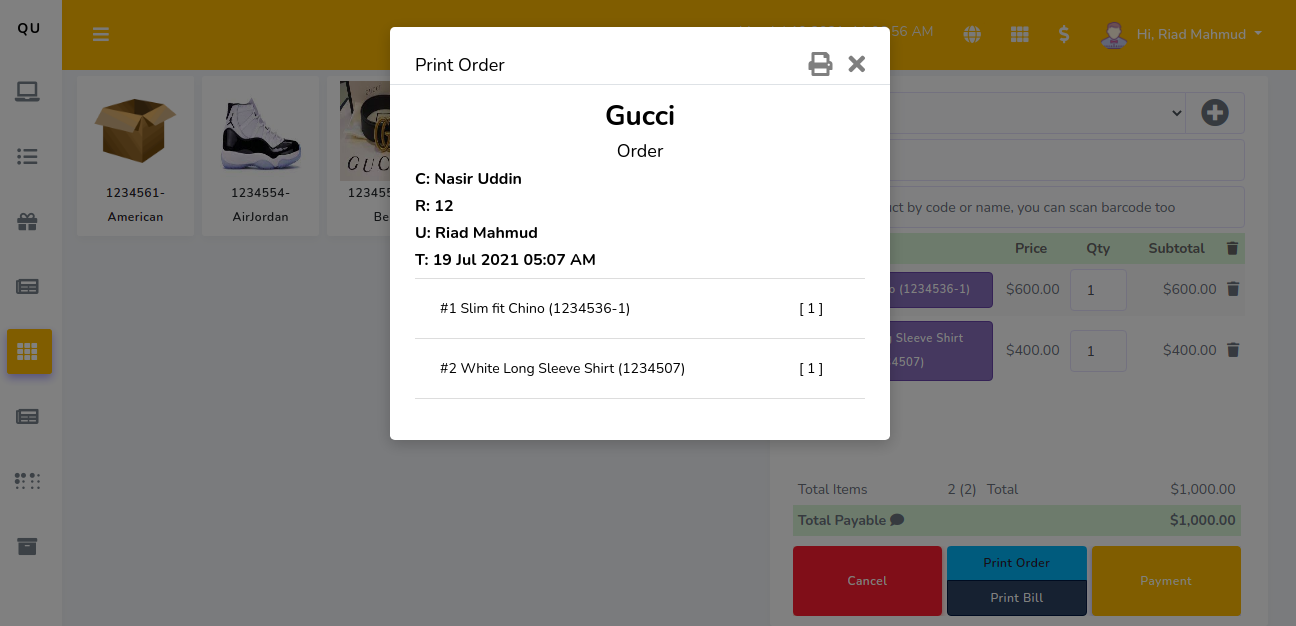
Print Order
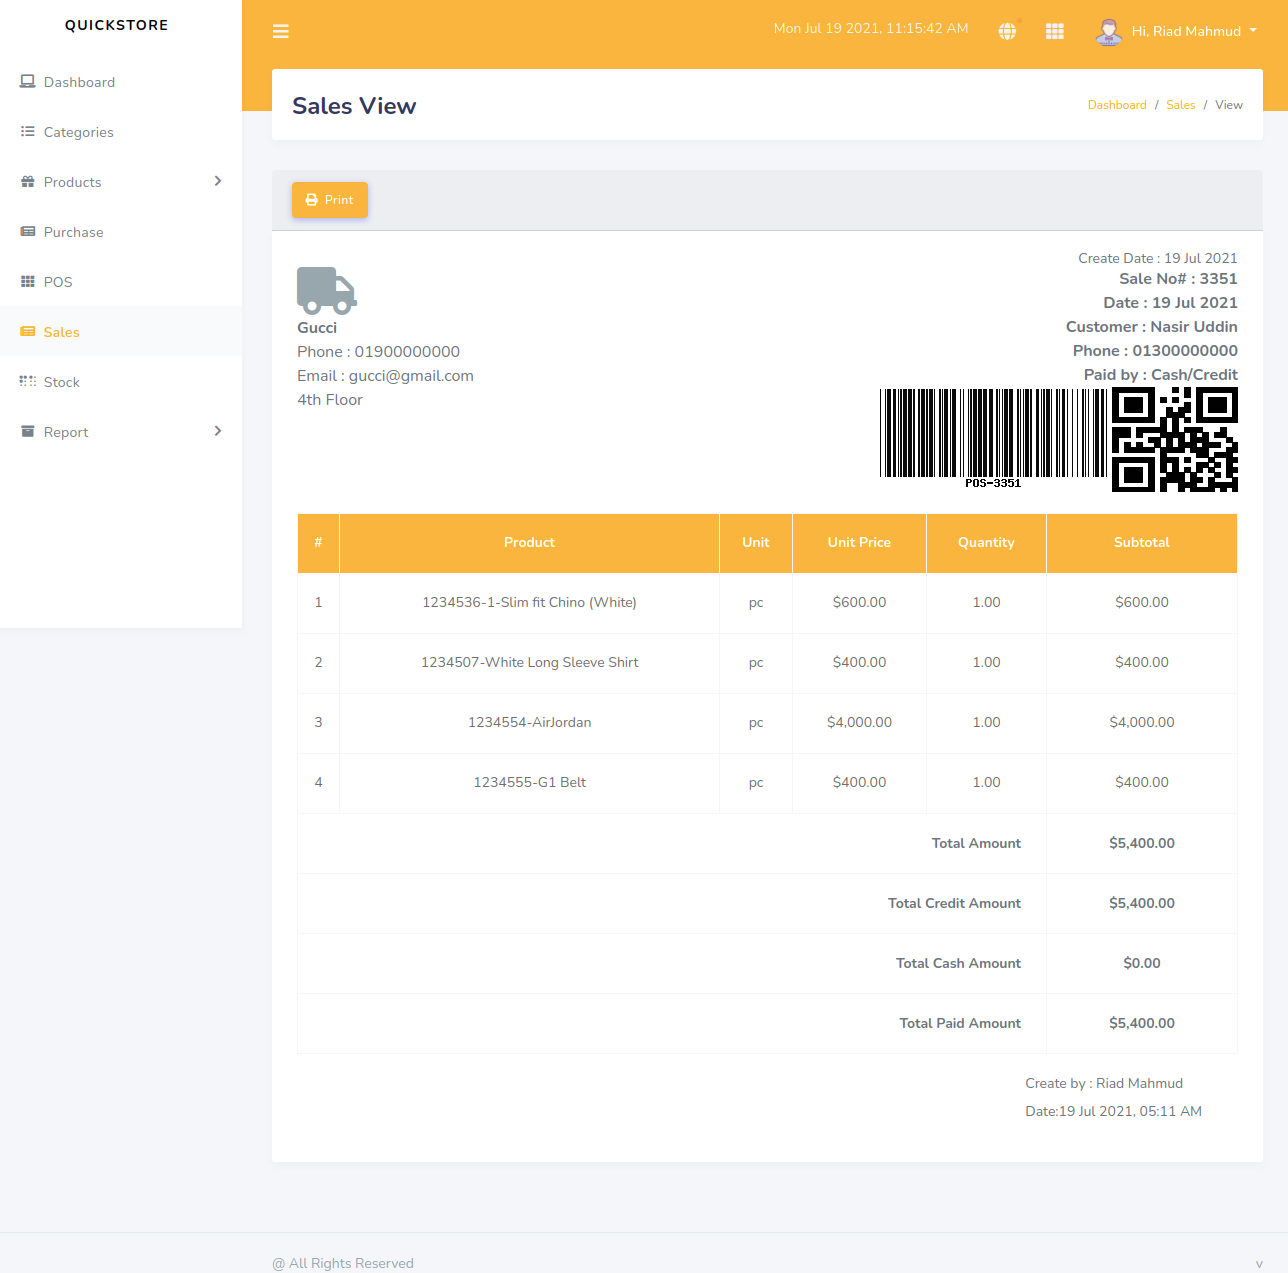
Sales
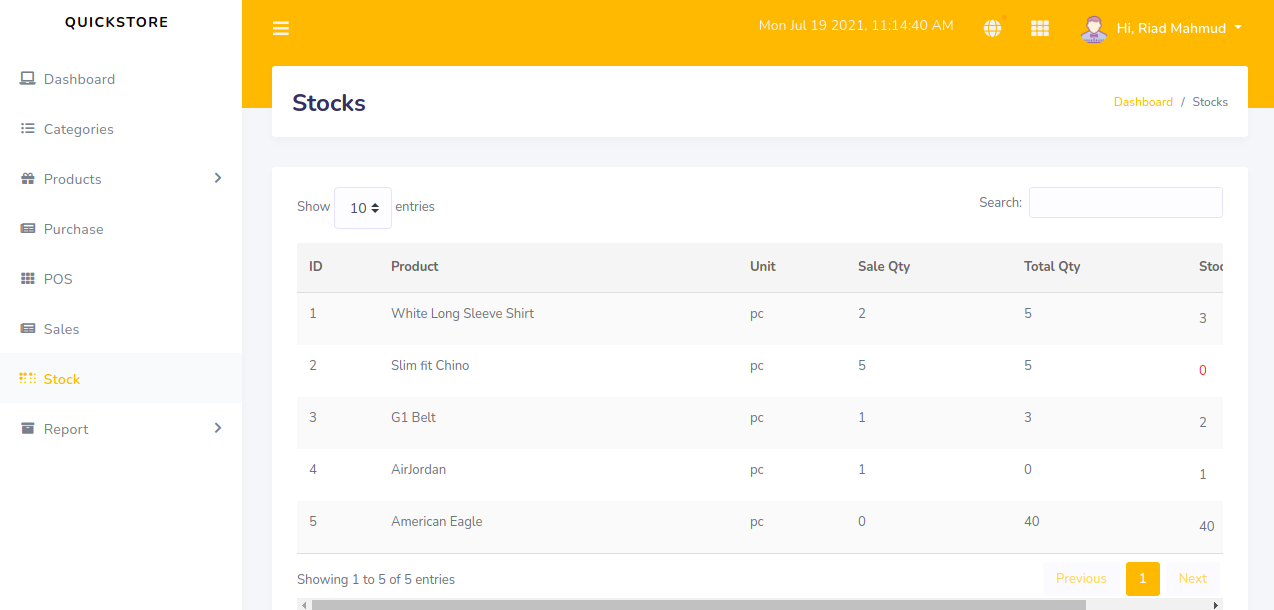
Stock
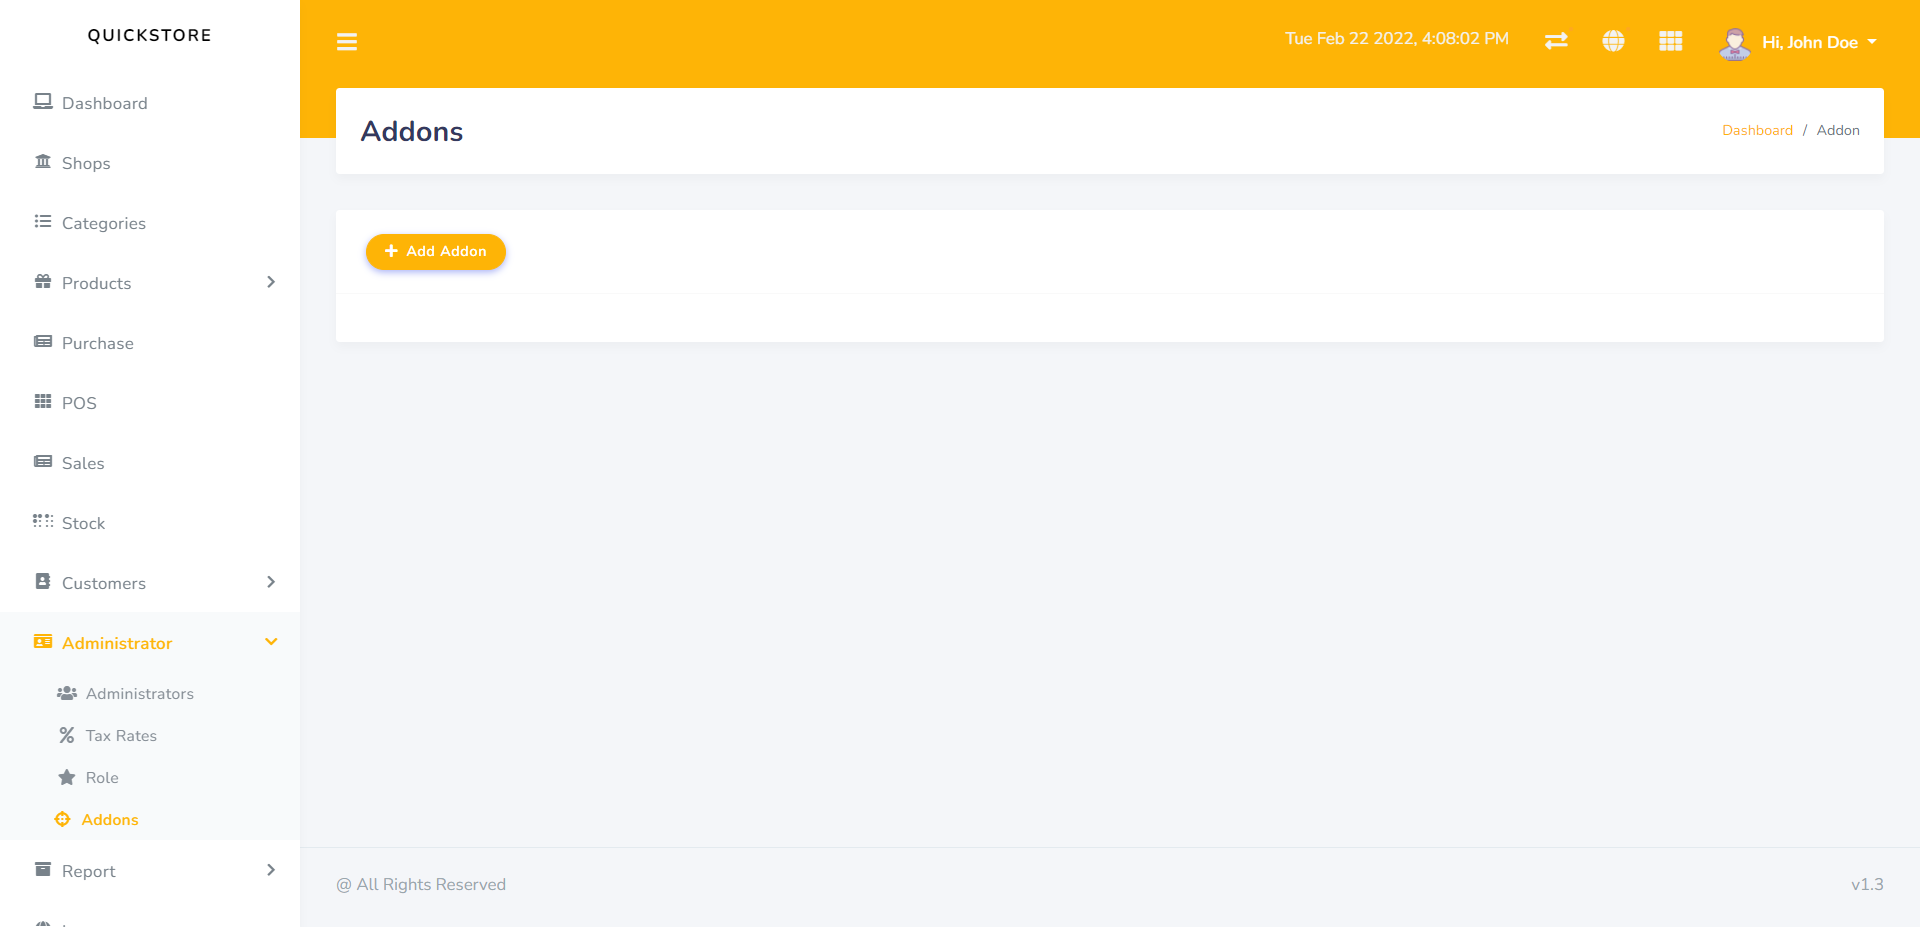
Addon
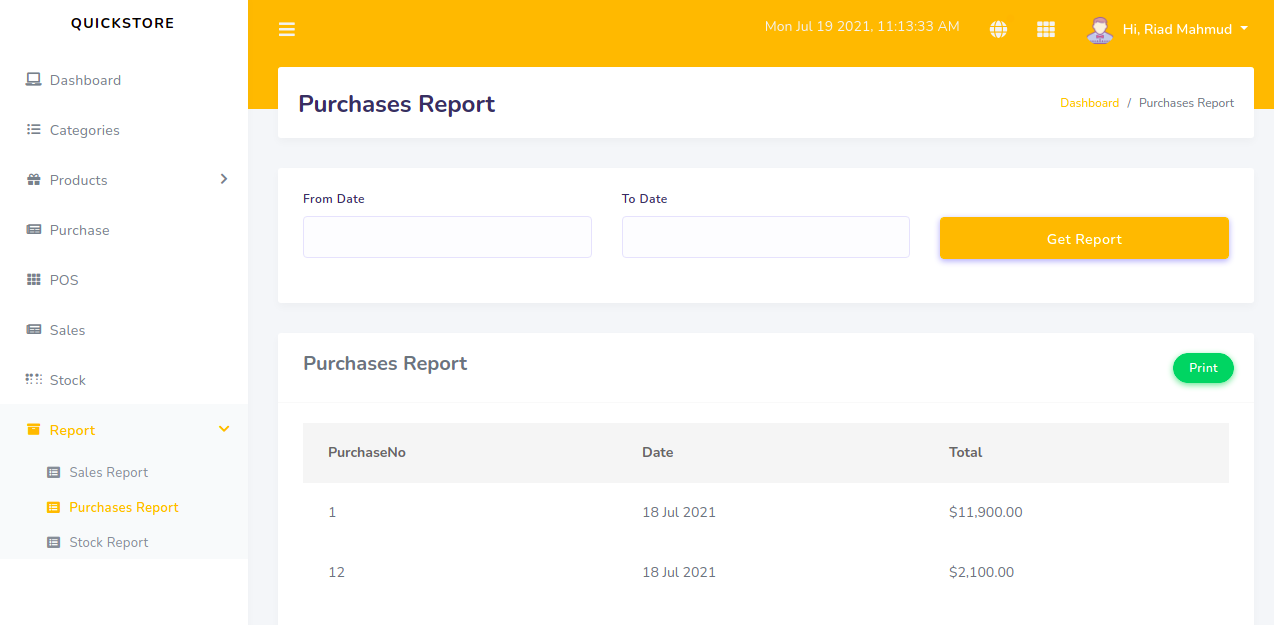
Purchase report
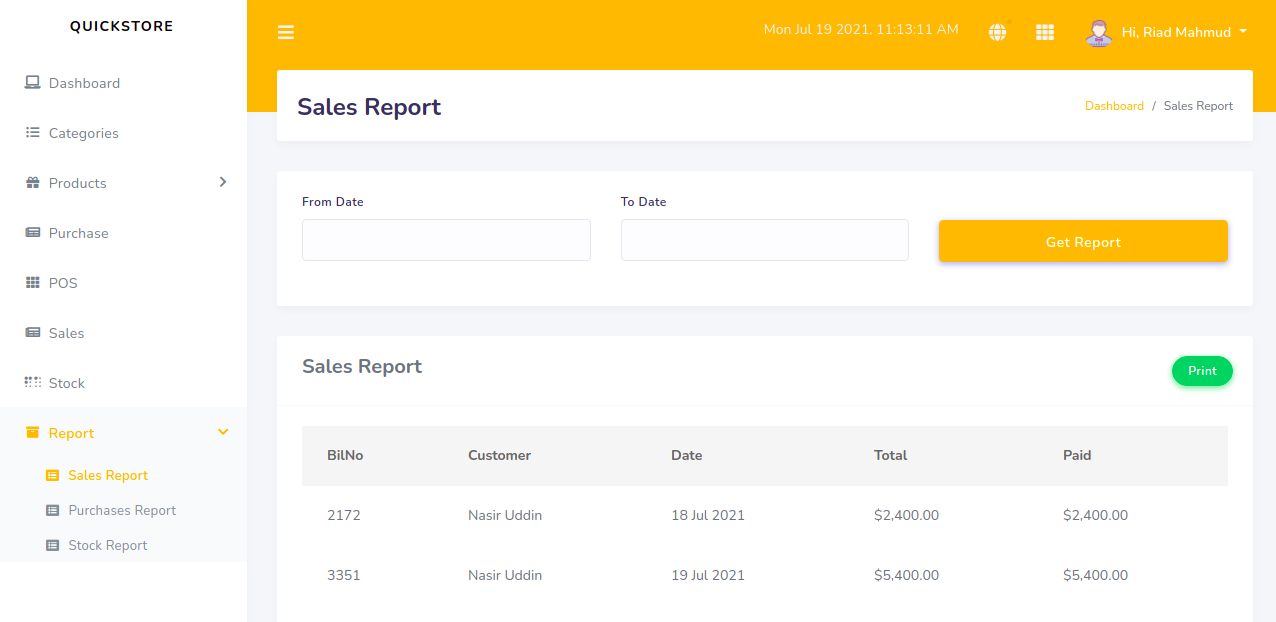
Sales Report
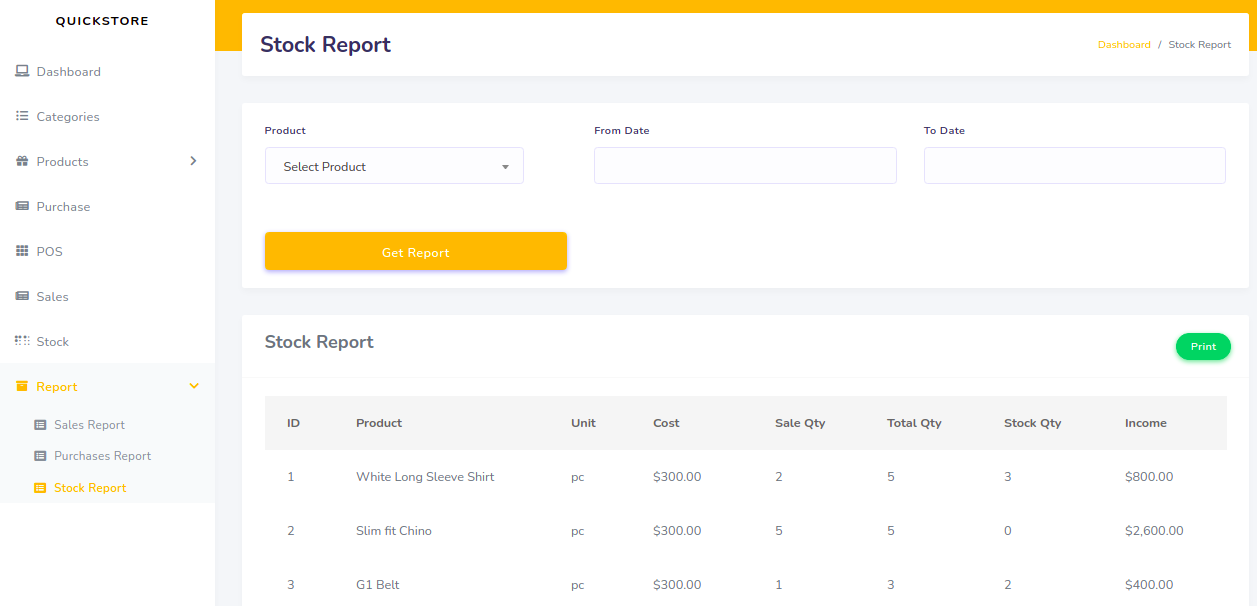
Stock Report
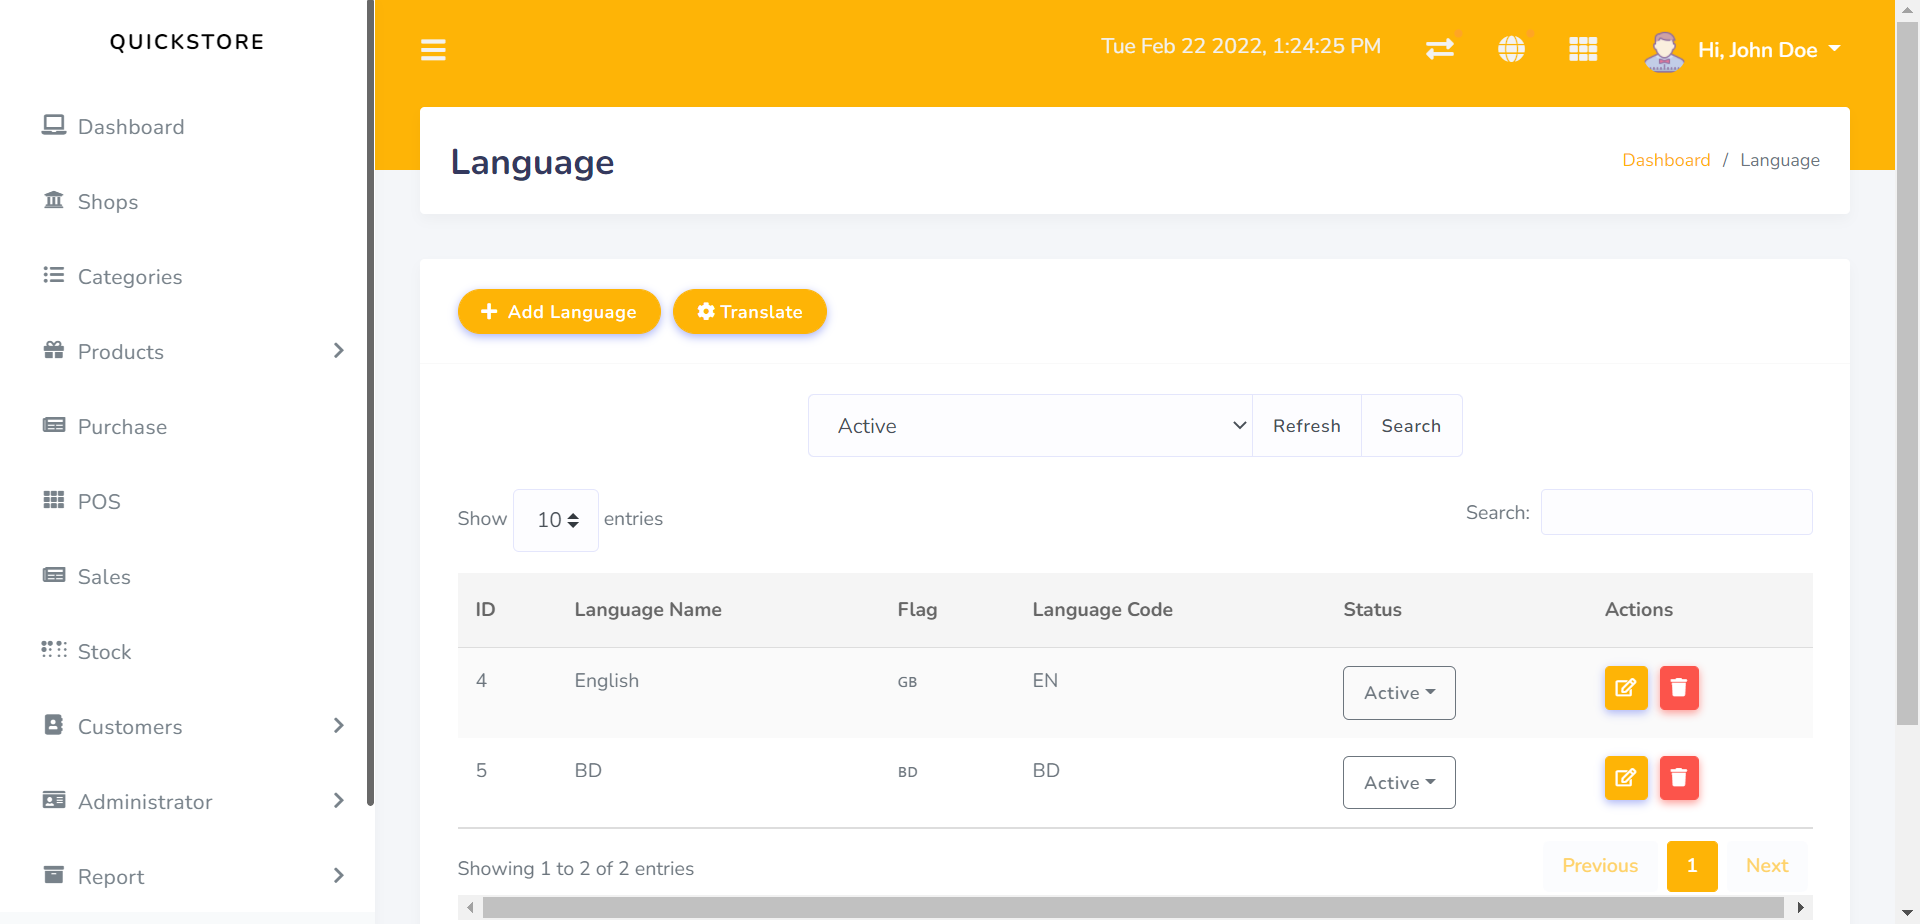
Language
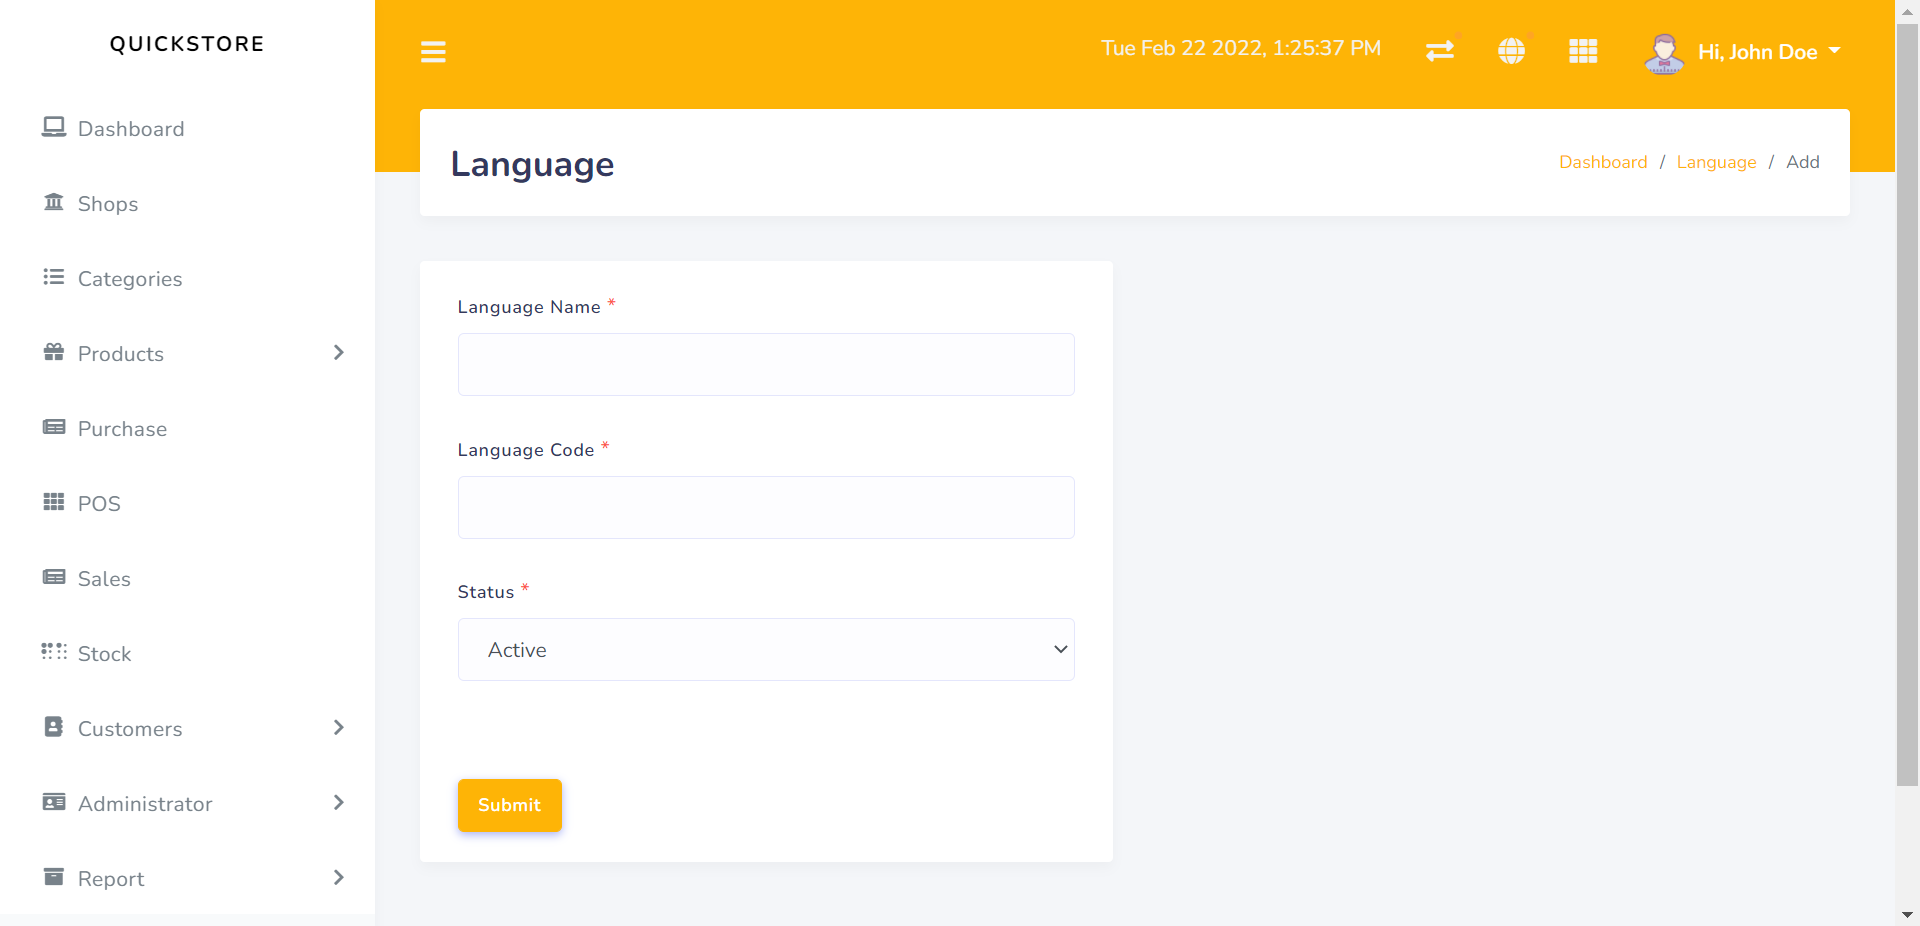
Add Language
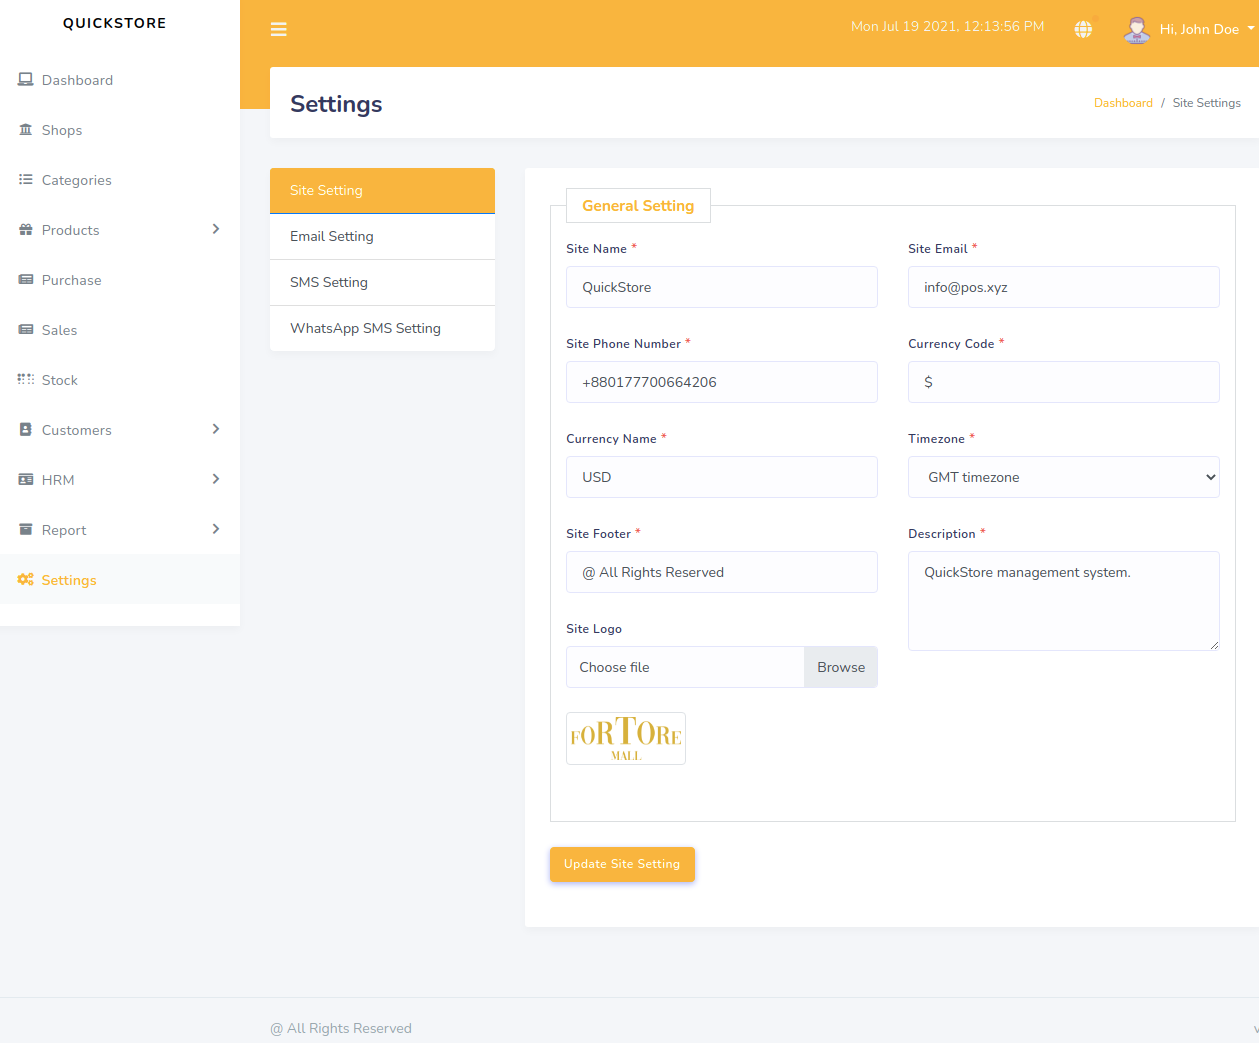
Site Settings
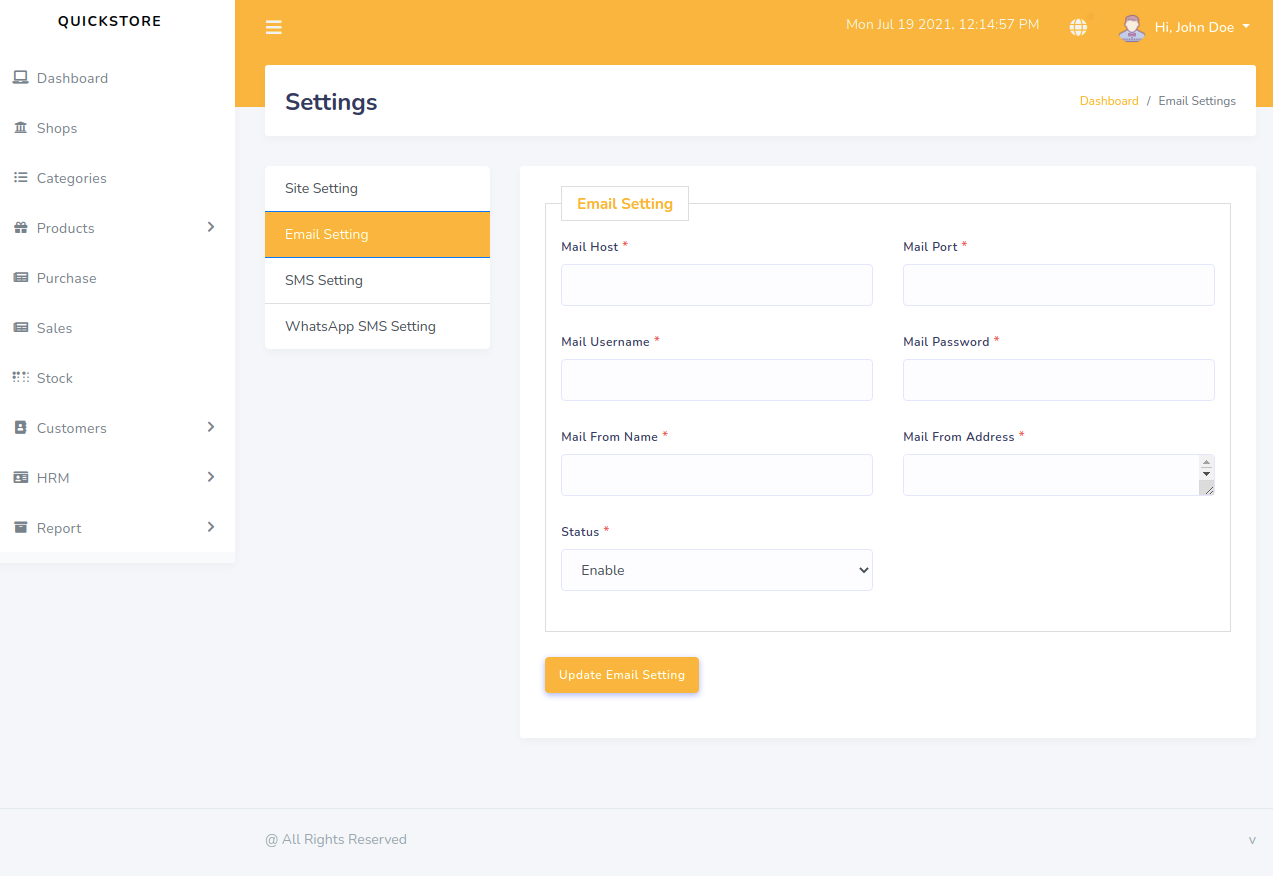
Email Setting
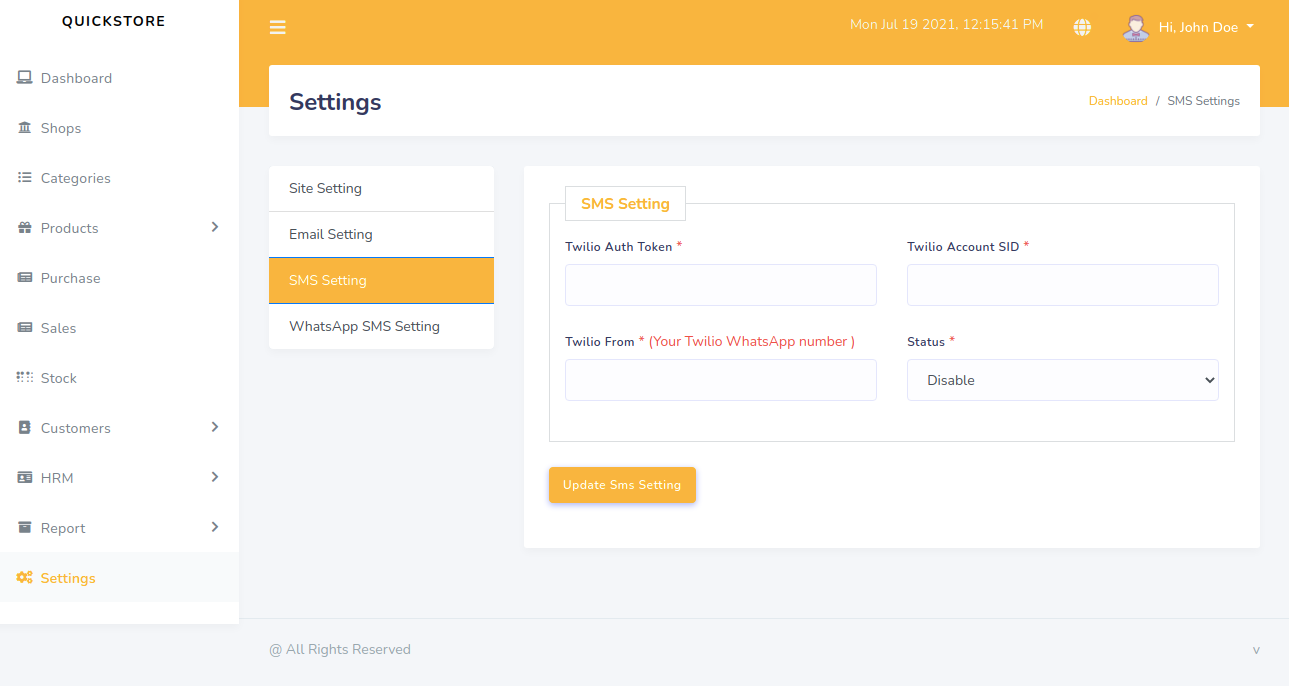
SMS Setting
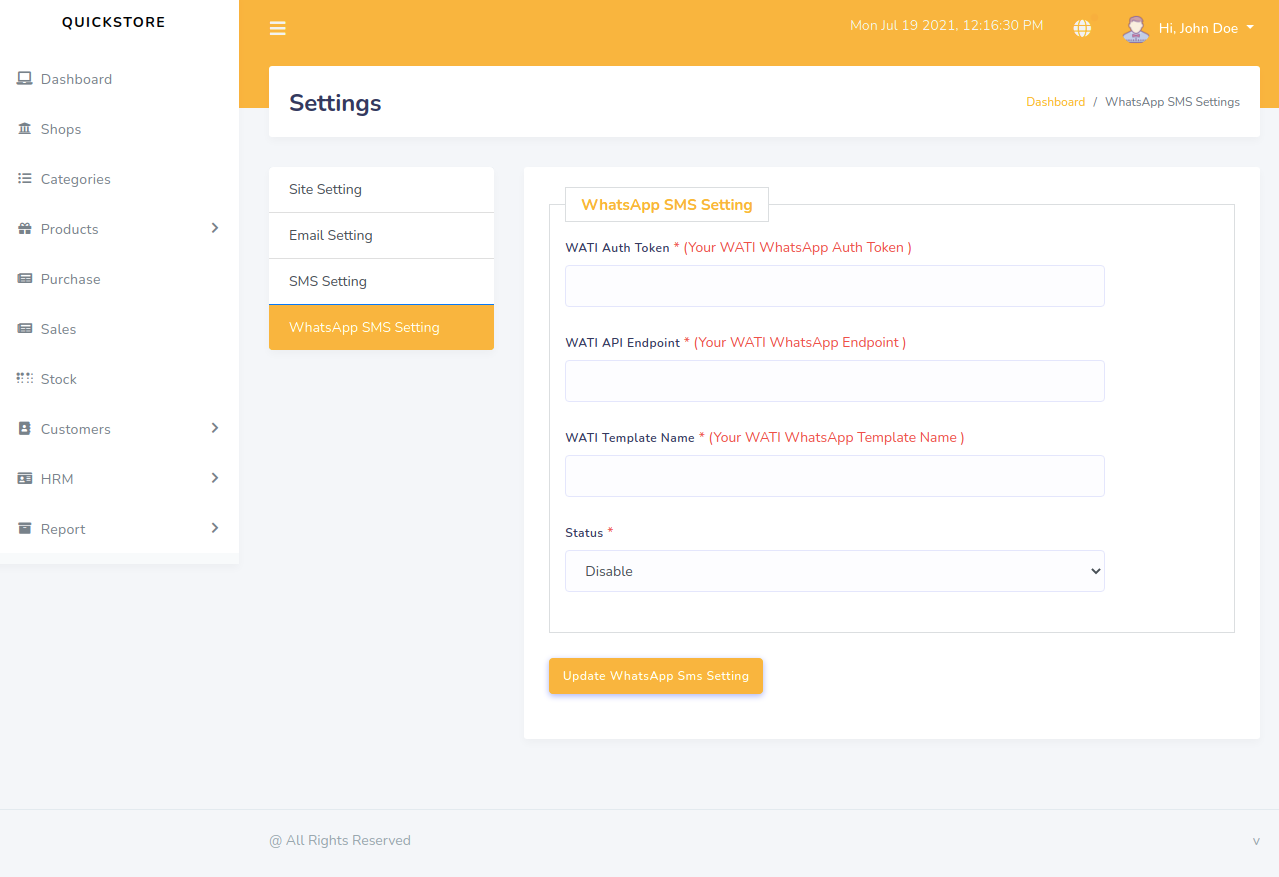
Whatsapp Setting
SMTP
What is SMTP?Short for Simple Mail Transfer Protocol, a protocol for sending e-mail messages between servers. Most e-mail systems that send mail over the Internet use SMTP to send messages from one server to another; the messages can then be retrieved with an e-mail client using either POP or IMAP. In addition, SMTP is generally used to send messages from a mail client to a mail server. This is why you need to specify both the POP or IMAP server and the SMTP server when you configure your e-mail application.
In short it used to send emails to your site users..!! You can use any SMTP service provider.- Your own hosting SMTP server
- Gmail, Yahoo or some other email provider
Own SMTP Server
Using your own or some SMTP server Admin panel setup- Go to your Admin panel -> Setup -> General Settings -> Mail
- Set 'Mail driver', 'Mail host', 'Mail port', 'Mail encryption', 'Mail username' and 'Mail password'
- And save your changes.
/.env file setup
- Login to your FTP account.
- Open and Edit
/.envfile. - Copy and paste your server smtp details in the file.
                    MAIL_DRIVER=smtp
                    MAIL_HOST=your-mail-host
                    MAIL_PORT=your-mail-port
                    MAIL_USERNAME=your-mail-username
                    MAIL_PASSWORD=your-mail-password
                    MAIL_ENCRYPTION=your-mail-encryption
- Replace
your-mail-host,your-mail-port,your-mail-username,your-mail-passwordandyour-mail-encryption. - Save and Upload the file
- You are done.
/.env file settings override those of the admin panel.
SMS APIs
How to set up?
- Admin panel -> Setup -> General Settings -> Notification -> activate default SMS API, Set gateway information and save.
- You can use both Africa's Talking API or TWILIO as your SMS provider API:
TWILIO
TWILIO - https://www.twilio.com
Admin panel setup- Go to your Admin panel -> Setup -> Notification's Settings ->
- Set 'Twilio Account SID', 'Twilio Auth Token' and 'Twilio From'
- And save your changes.
                    TWILIO_ACCOUNT_SID=your-twilio-account-sid
                    TWILIO_AUTH_TOKEN=your-auth-token
                    TWILIO_WHATSAPP_FROM=your-sender-number
WATI
WATI - https://www.wati.io
Admin panel setup- Go to your Admin panel -> Setup -> Notification's Settings ->
- Set 'WATI Auth Token', 'WATI API Endpoint' and 'WATI Template Name'
- And save your changes.
                    WATI Auth Token=your-WATI-auth-token
                    WATI API Endpoint =your-WATI-API-endpoint
                    WATI Template Name=your-WATI-template-name
Others SMS Configurations
Now, go to your Admin panel :
- Admin panel -> Setup -> Notification Settings
You are done.
Changelog
See what's new added, changed, fixed, improved or updated in the latest versions.
Version 1.2 (8 Dec, 2022)
Installer Update
Update to laravel 9 and php 8
PoS Update
Bug Fixing
Version 1.1 (22 Feb, 2022)
Multi-Language
Addon Module System
PoS Update
Bug Fixing
Version 1.0 (18 Aug, 2021)
Initial Release
For Future Updates Follow Us:
How To Contact Us?